Individual assignment:
Design a 3D mould around the stock and tooling that you’ll be using, mill it and use it to cast parts.
My Design for Casting
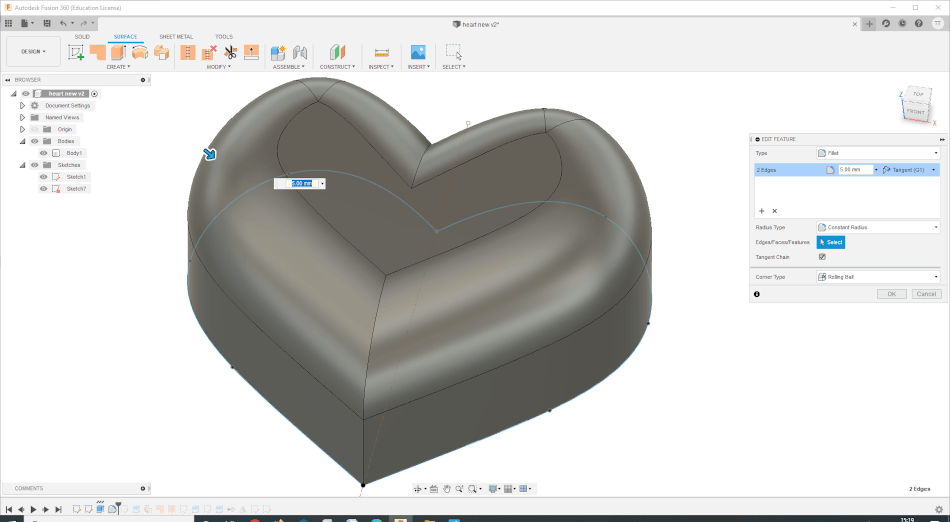
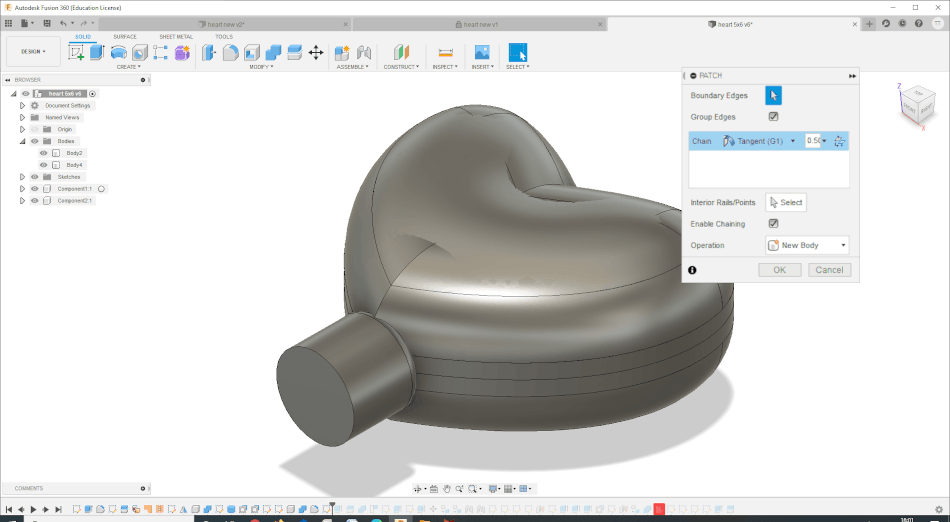
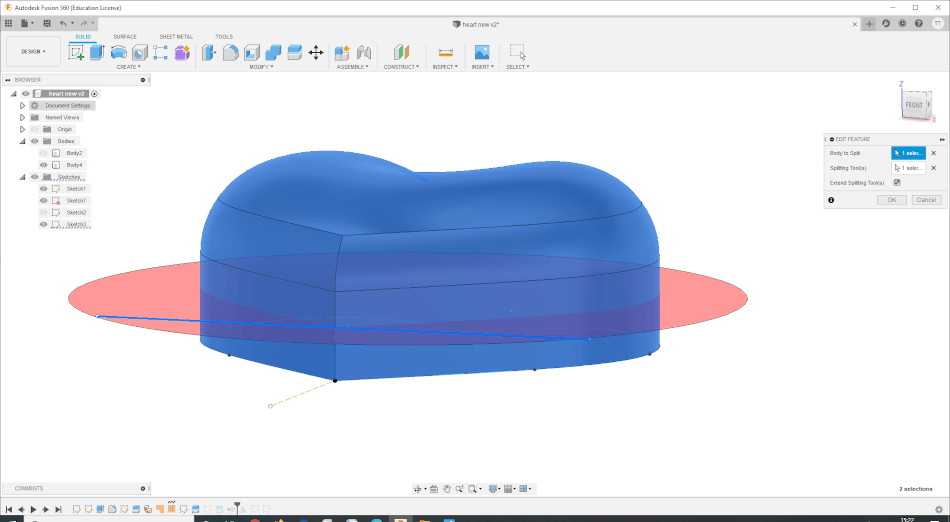
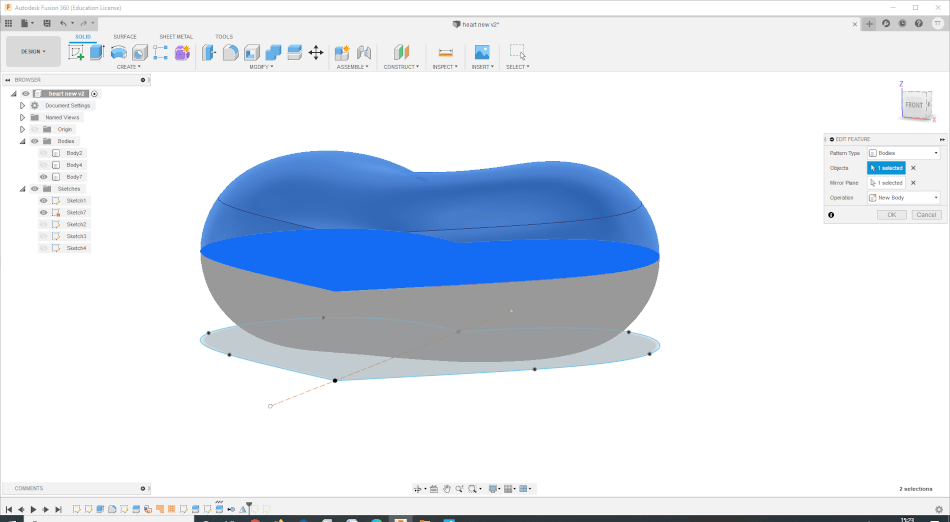
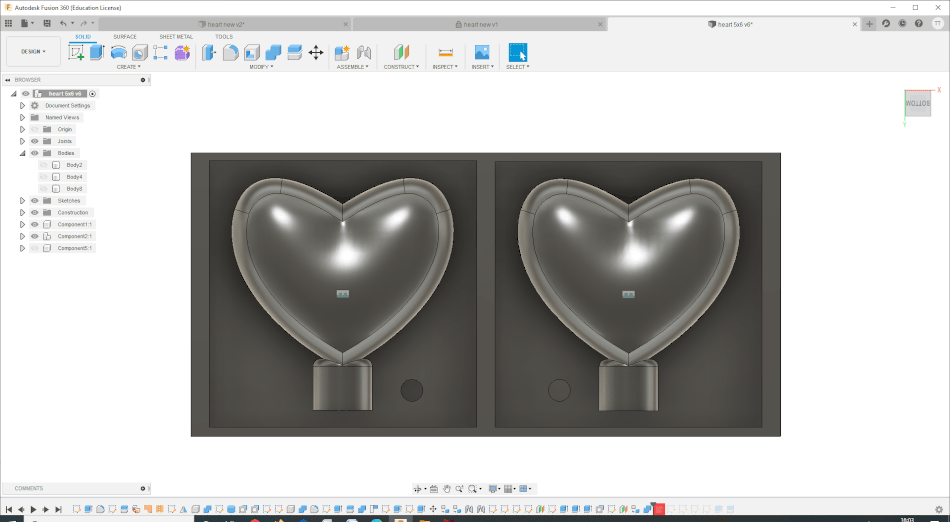
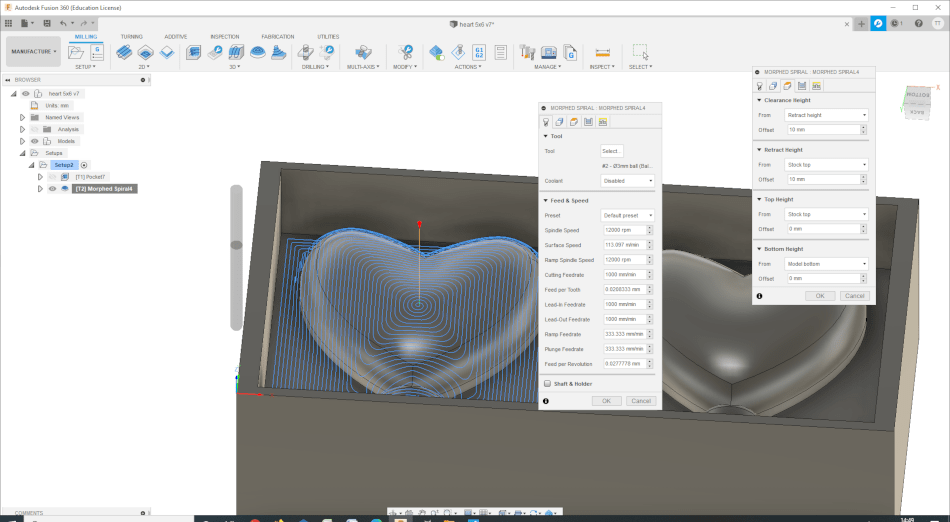
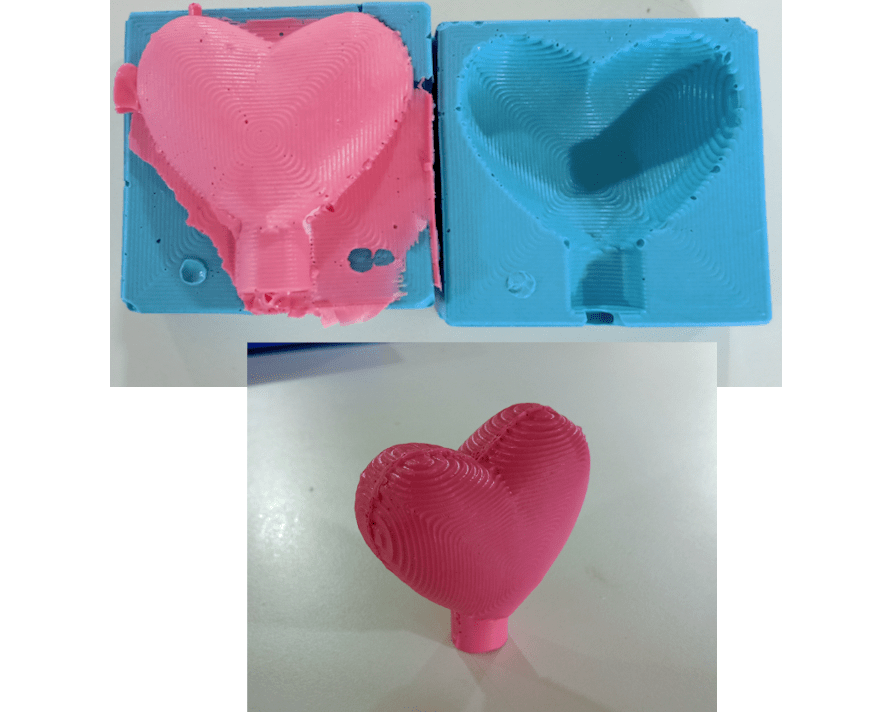
For doing my indicidividaul assignment I decided to design a 3 D model of heart with a small base. For this I used FUSION 360. For achieving 3 axis milling to my 3D heart I added curve + step features , this made my design more appealing . Size of 3d heart was approx. 50 mmX60 mm x 30 mm
Steps I followed.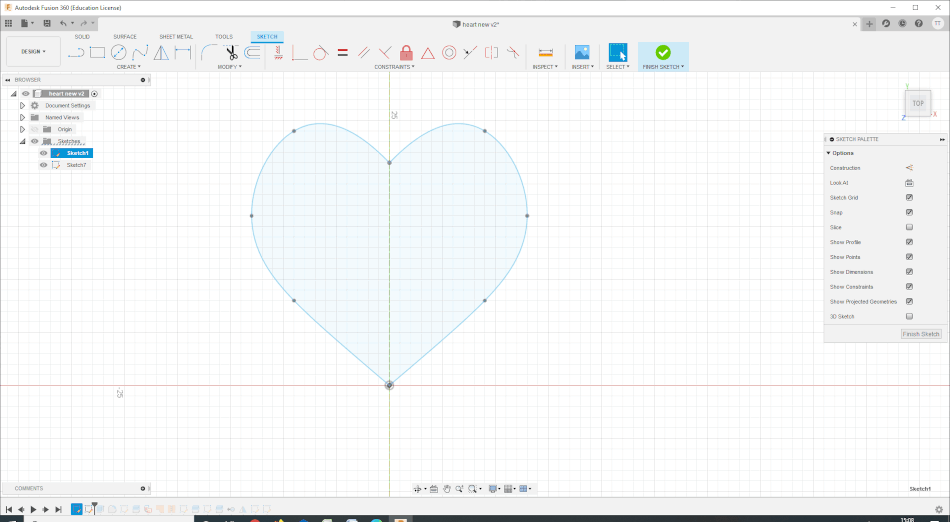

Used Mirror tool

Now we can move to CAM
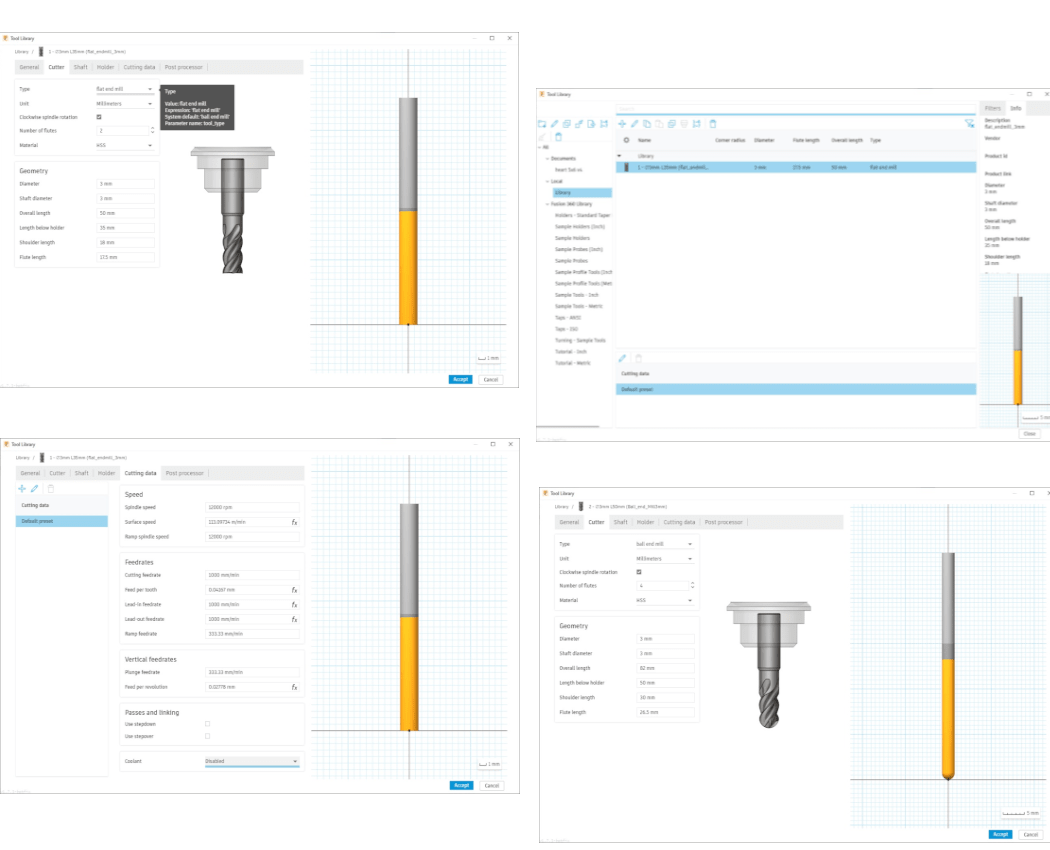
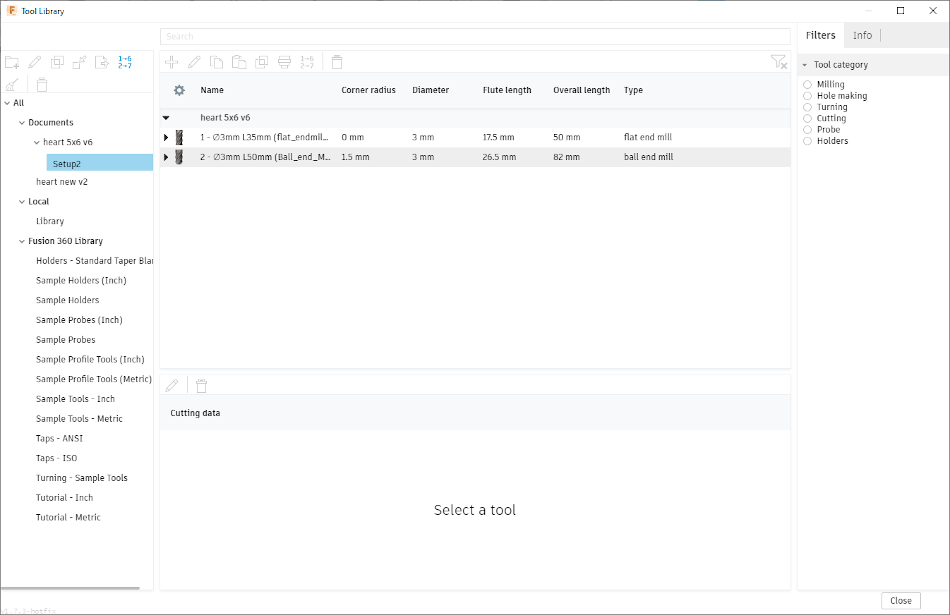
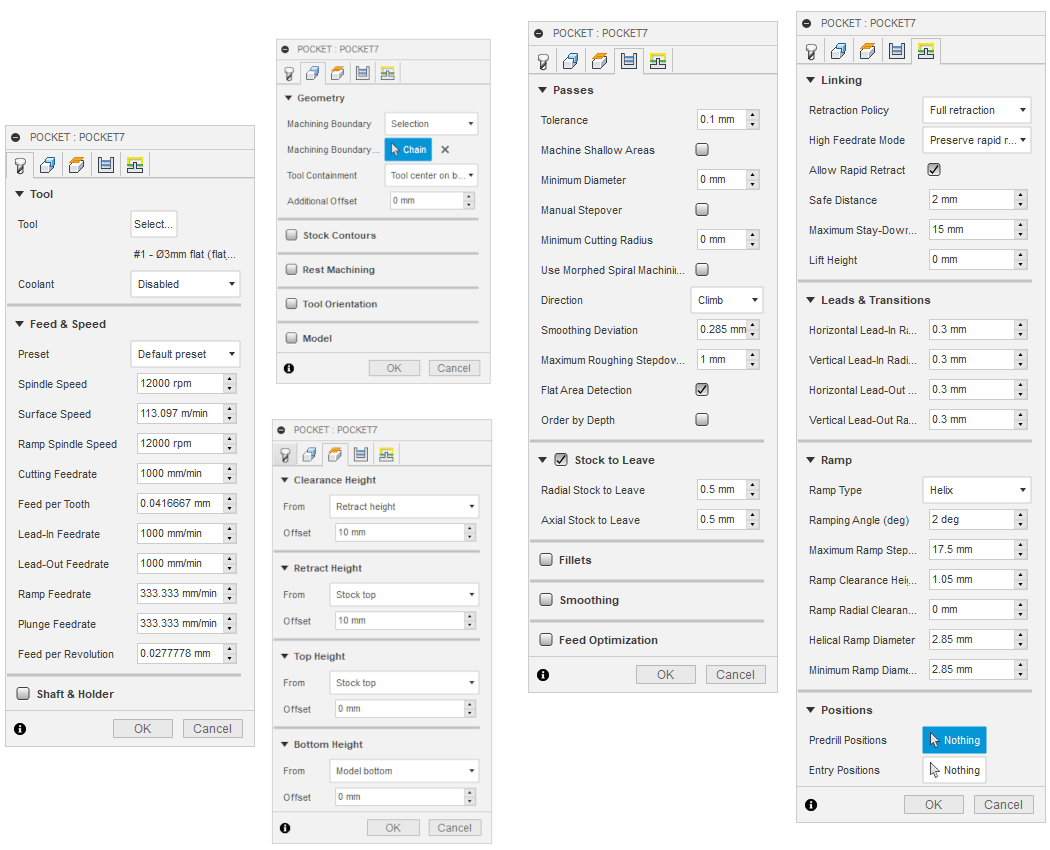
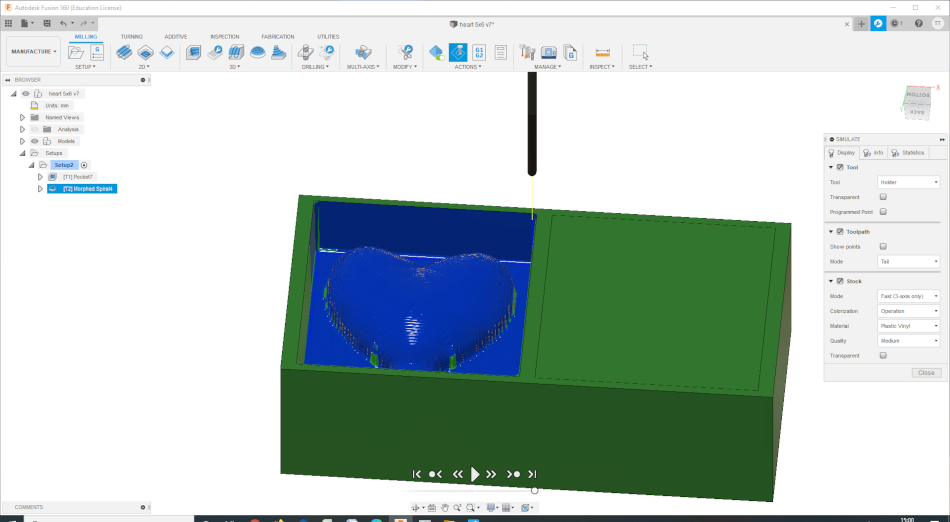
Toolpath generation
For generating the Toolpath for my mold, I used fusion 360. The steps I followed were

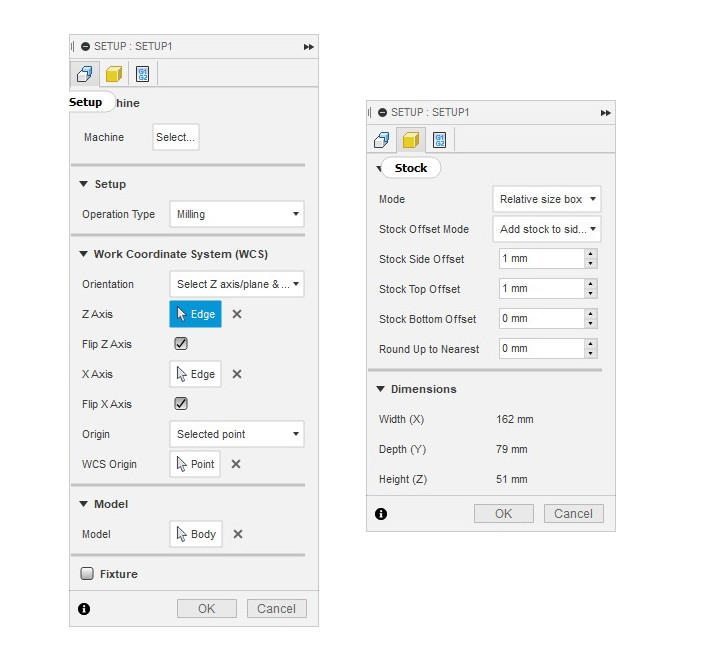
Milling the stock material( Wax)
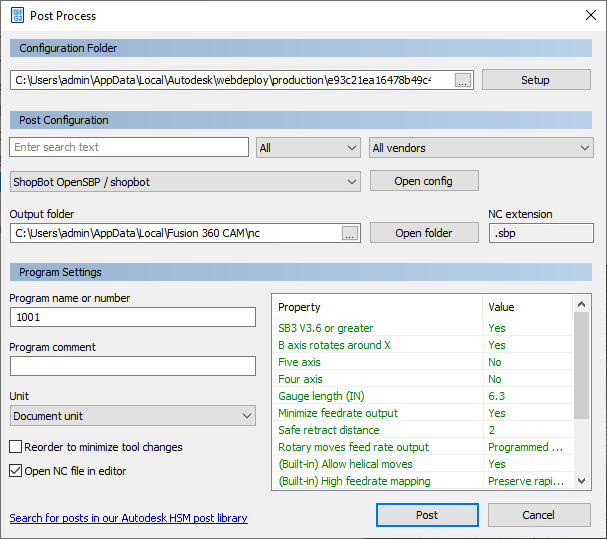
I found a wax stock of size 200 mm X 77mm x 45 mm to mill using shopbot. I fixed the stock on the workbench using double sided tape. Next Inserted end mill 3 mm to spindle, imported file, set the origin to one corner facing us. And started milling. I referred documentation of Week 7_CNC cutting.
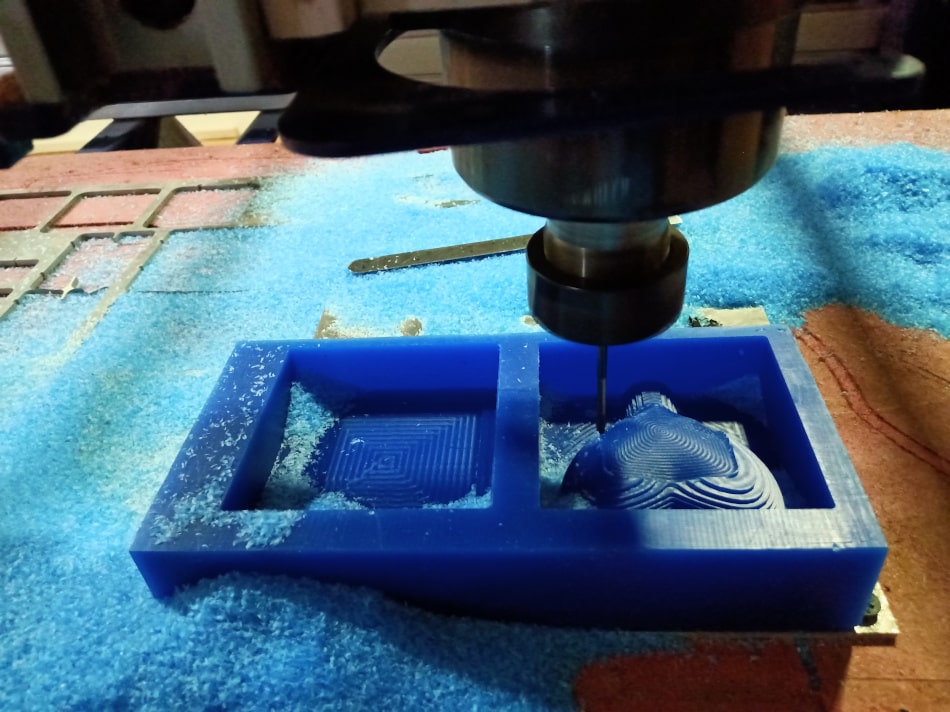
 Mistake I made
Initially the toolpath generated data got corrupted so i got only a milled square pocket but no heart shape. You can see it on the above image
Silicone Rubber Mold Preparation and Casting
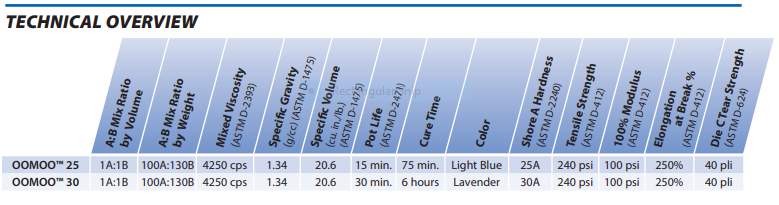
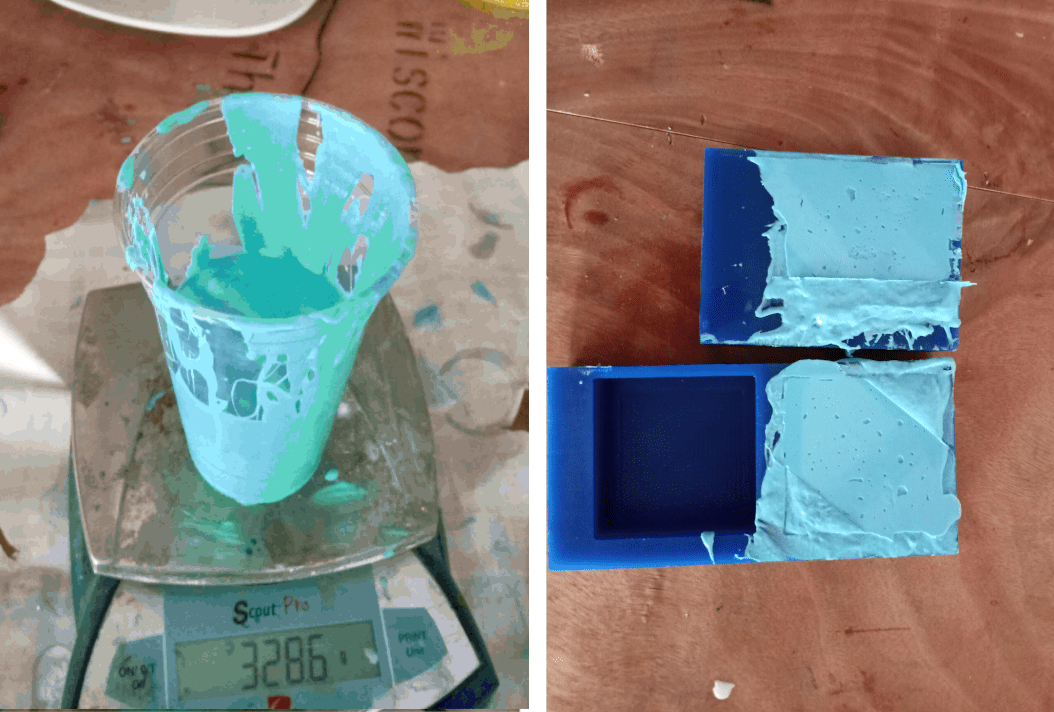
Next task is to prepare a silicone rubber mold using milled wax mold. For this we need to prepare mold material. I used silicone rubber -Smooth-On OOMOO 25 . I understood the ratio of mixing Part A and Part B by reading Material safety data sheet.I Chose A:B mix ratio by weight- 100A:130B
By calculated guessing i prepared 330 g of uncured silicone rubber. I mixed thoroughly to one sure and minimized generating air bubbles. Then poured slowly on to mold and using a stick I directed the material to all nooks and corners of the mold.
After 75 min took out the cured silicone rubber mold. Another parameter which we want to keep in mind is the ‘pot life’ . Make sure we pour the mixture before the pot life. Here it is 15 min.
Liquid plastic preparation and casting.
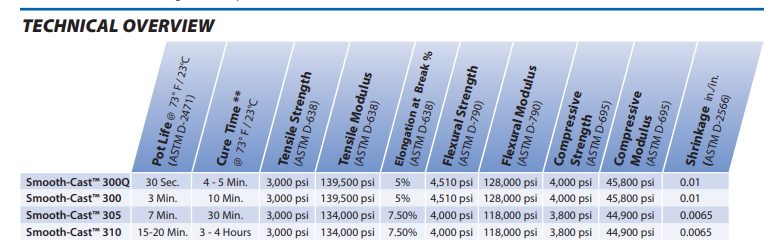
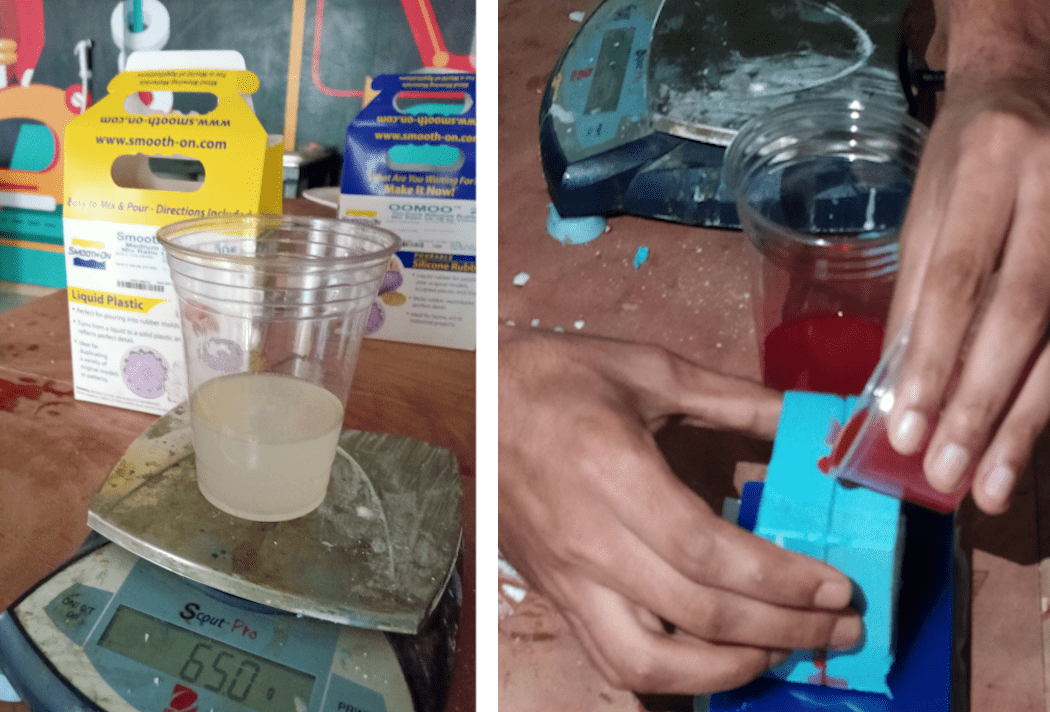
Plastic is my cast material. We have liquid plastic from a ‘smooth on’ company. By reading the material data sheet I understood the ratio by weight, pot life and setting time.
I added red color pigment to give an attractive color to my cast. Here I added a drop of red color to part B of liquid plastic and mixed thoroughly and later mixed with part A to form casting material. The mixing ratio is 100A:90B by weight.
My Final Product
Group assignment:
Review the safety data sheets for each of your molding and casting materials
Make and compare test casts with each of them.Link to week 12- Molding & Casting group assignment page